Win10家庭版白嫖专业版功能
前言
不建议使用,会有法律风险,请支持正版。
远程桌面
RDP Wrapper (此方法已无效)

- 下载链接:RDPWrap-v1.6.2h.rar
- 打开
install.bat安装服务;
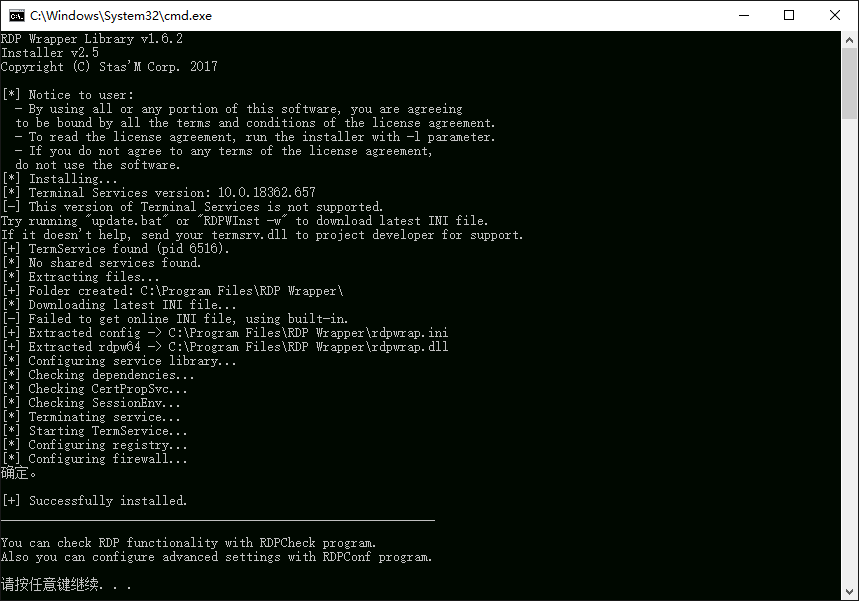
- 打开
RDPConf.exe查看状态,如果界面显示全绿,说明可以正常使用了。
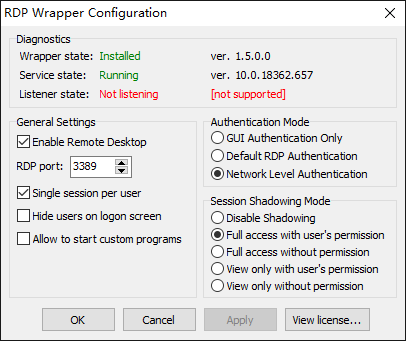
- 如果有红色,复制文件夹里面的修改过的INI文件到
C:\Program Files\RDP Wrapper文件夹里;
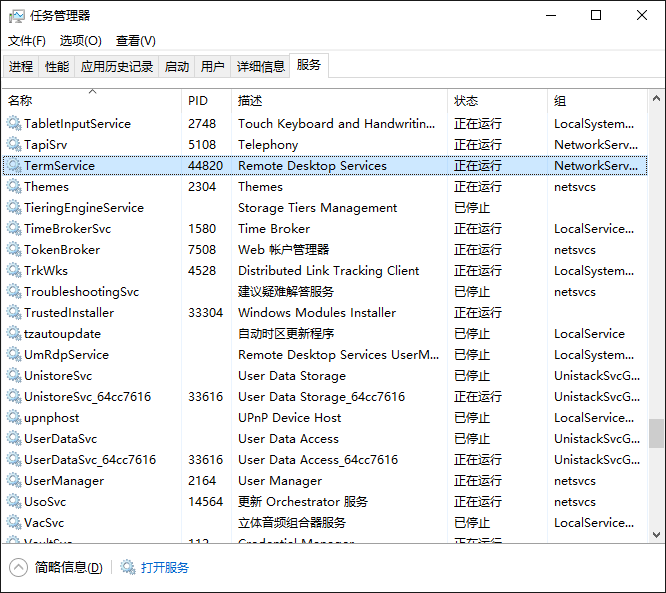
- 重启电脑或者重启TERM SERVICES服务,再次重复2;
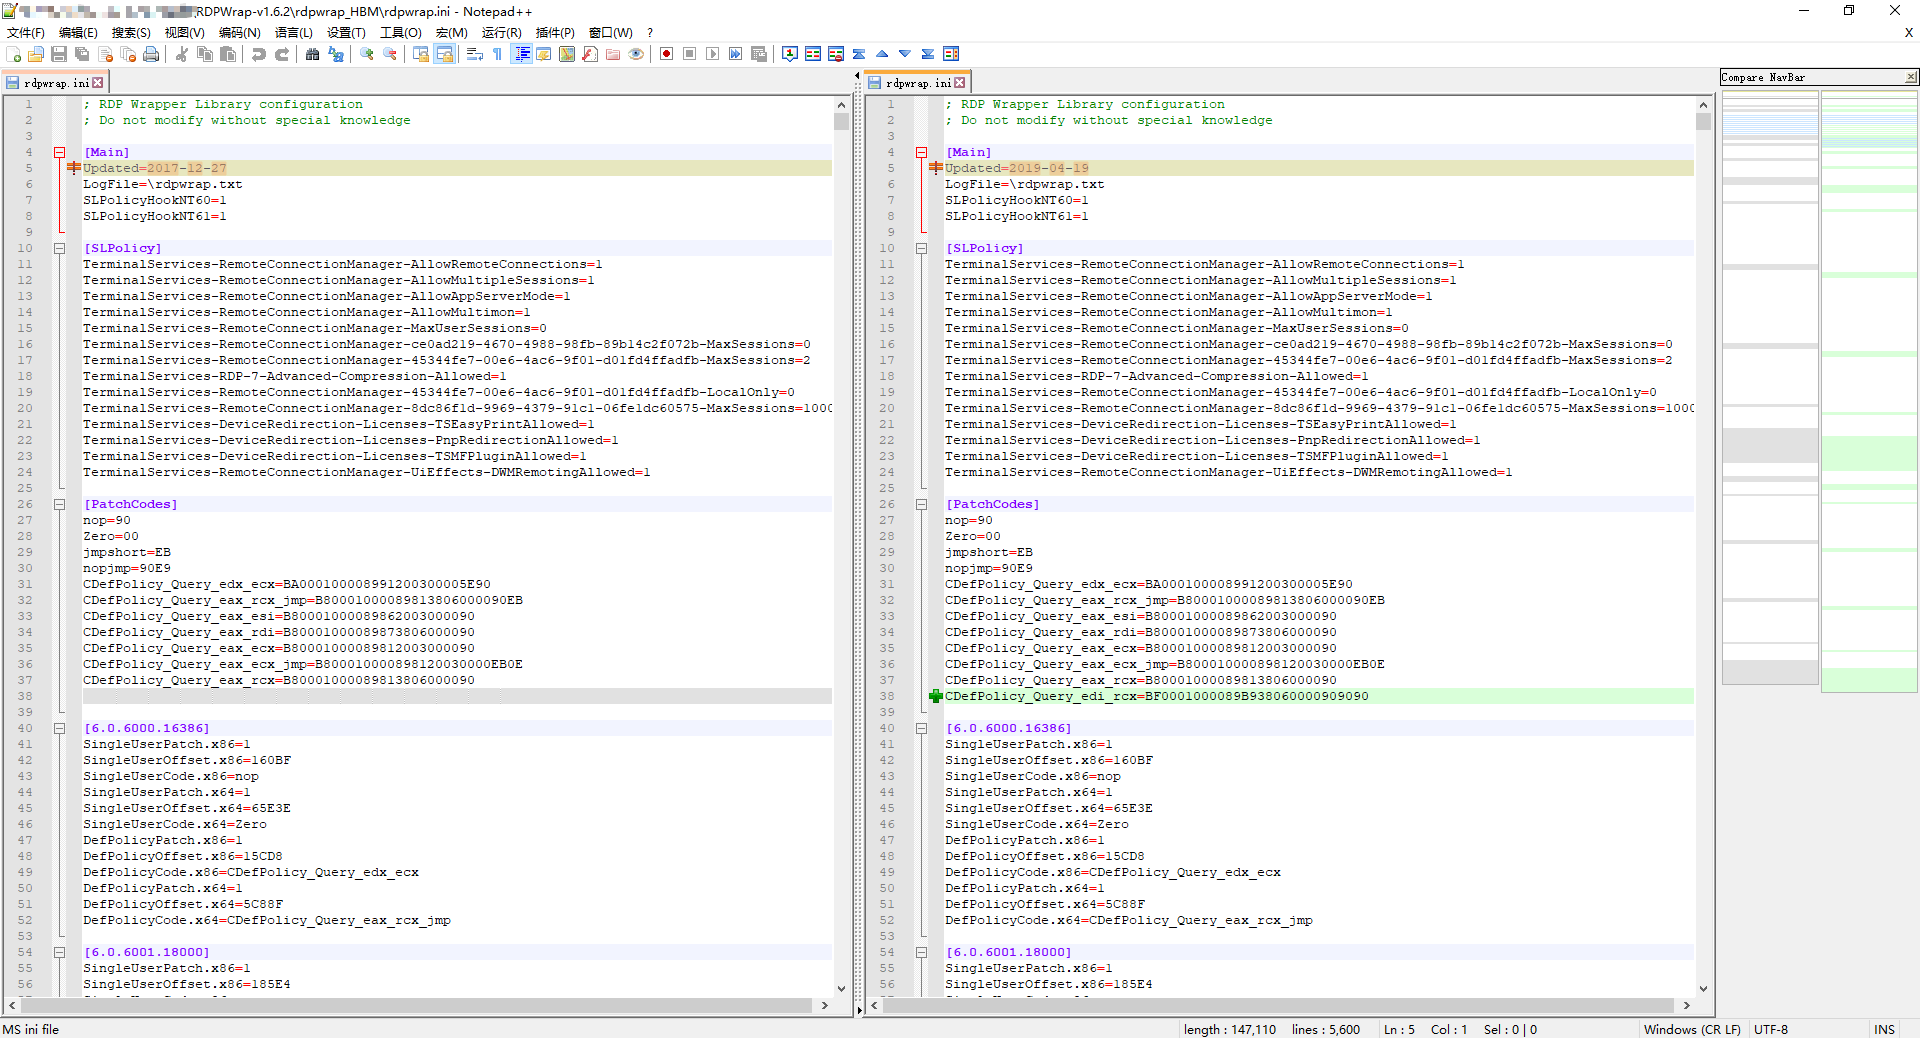
- 如果依旧不行,打开
C:\Program Files\RDP Wrapper\rdpwrap.ini,追加以下内容,再次重复4;
1 | [10.0.17134.706] |
- Windows 10 创意者更新后,系统会缺少
rfxvmt.dll,导致Listener state不成功,需要下载 rfxvmt.zip ,将rfxvmt.dll放入C:\Windows\System32文件夹
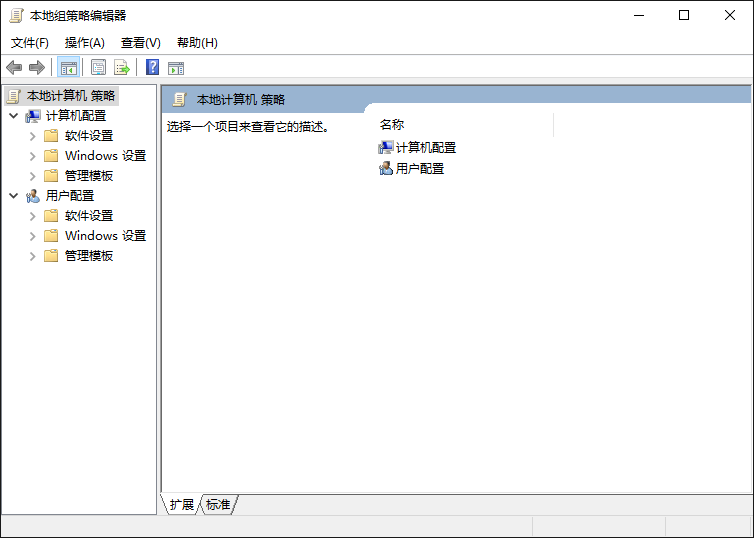
组策略gpedit.msc
- 下载链接:启用组策略.bat
将以下内容保存为bat文件,以管理员身份运行。
1 | @echo off |
Hyper-V
添加Hyper-V
- 下载链接:添加Hyper-V.bat
将以下内容保存为bat文件,以管理员身份运行。
1 | @echo off |
开启Hyper-V
- 下载链接:开启Hyper-V.bat
将以下内容保存为bat文件,以管理员身份运行。
1 | @echo off |
关闭Hyper-V
- 下载链接:关闭Hyper-V.bat
将以下内容保存为bat文件,以管理员身份运行。
1 | @echo off |
伪装Win10专业版
安装Docker需要Win10专业版。
- 下载链接:伪装Win10专业版.bat
将以下内容保存为bat文件,以管理员身份运行。
1 | REG ADD "HKEY_LOCAL_MACHINE\software\Microsoft\Windows NT\CurrentVersion" /v EditionId /T REG_EXPAND_SZ /d Professional /F |
后记
请支持正版。