前言
初次安装 Git 到 Windows 上,手动创建 SSH 密钥并添加到 GitHub 上。
【转载】 使用 SSH 连接到 GitHub
生成新 SSH 密钥
- 打开 Git Bash 或 其他终端(例如PowerShell)。
- 粘贴下面的文本(替换为您的 GitHub 电子邮件地址)。
1
| ssh-keygen -t ed25519 -C "htlsmile@outlook.com"
|
如果您使用的是不支持 Ed25519 算法的旧系统,请使用以下命令:
1
| ssh-keygen -t rsa -b 4096 -C "htlsmile@outlook.com"
|
这将创建以所提供的电子邮件地址为标签的新 SSH 密钥。
1
| > Generating public/private ed25519 key pair.
|
- 提示您“Enter a file in which to save the key(输入要保存密钥的文件)”时,按 Enter 键。 这将接受默认文件位置。
1
| > Enter a file in which to save the key (C:\Users\htlsmile/.ssh/id_ed25519):[Press enter]
|
- 在提示时输入安全密码。 更多信息请参阅“使用 SSH 密钥密码”。
1
2
| > Enter passphrase (empty for no passphrase): [Type a passphrase]
> Enter same passphrase again: [Type passphrase again]
|
![生成SSH密钥]()
修改 SSH 私钥的密码
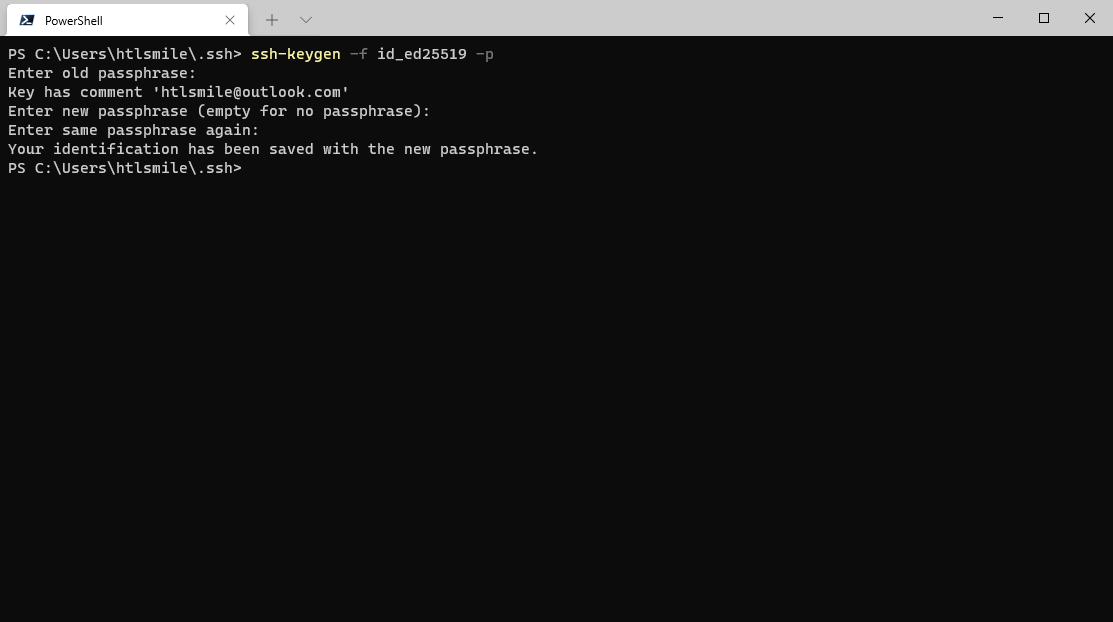
在 C:\Users\htlsmile\.ssh 目录里启动终端,针对特定的私钥文件(例如 id_ed25519 )执行以下命令
1
| ssh-keygen -f id_ed25519 -p
|
![修改SSH私钥密码]()
Git 全局配置
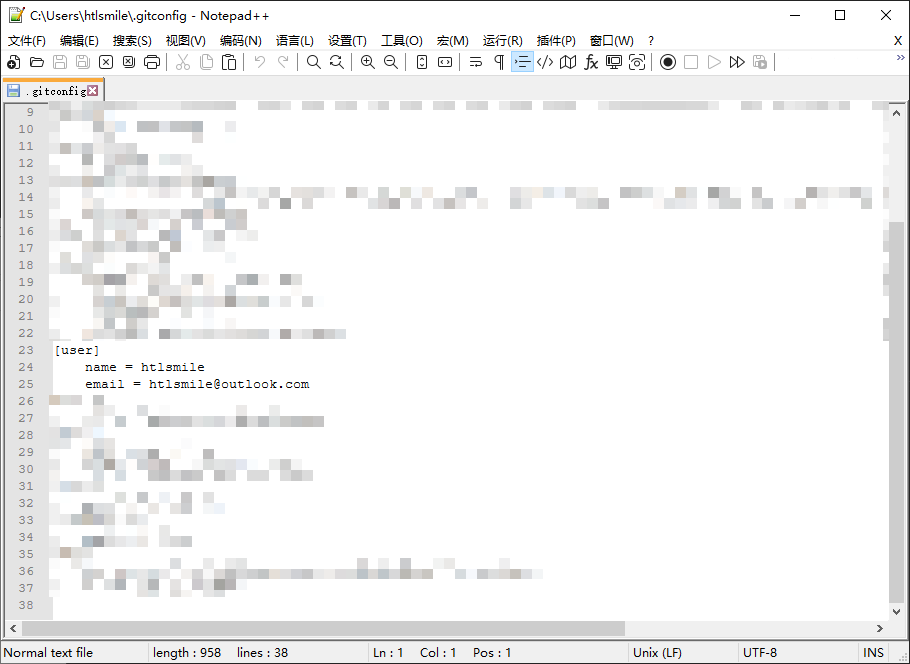
可以直接打开 C:\Users\htlsmile\.gitconfig 文件手动配置。
![.gitconfig]()
查看全局配置
设置用户名与邮箱
1
2
| git config --global user.name "htlsmile"
git config --global user.email "htlsmile@outlook.com"
|
设置全局代理
1
2
| git config --global http.proxy "socks5://127.0.0.1:10808"
git config --global https.proxy "socks5://127.0.0.1:10808"
|
取消全局代理
1
2
| git config --global --unset http.proxy
git config --global --unset https.proxy
|
1
2
| git config --global http.https://github.com.proxy "socks5://127.0.0.1:10808"
git config --global https.https://github.com.proxy "socks5://127.0.0.1:10808"
|
1
2
| git config --global --unset http.https://github.com.proxy
git config --global --unset https.https://github.com.proxy
|
后记


